Zellige tiles have rapidly become one of the most sought-after materials in Toronto's luxury renovation market. These hand-cut, hand-glazed Moroccan ceramics bring an artisanal quality that mass-produced tiles simply cannot replicate. Each tile carries the mark of its maker — subtle variations in colour, glaze depth, and edge profile that create surfaces of extraordinary depth and character.
However, zellige's handcrafted nature also means that installation demands significantly more expertise than standard tile work. This guide covers everything Toronto homeowners need to know about specifying and installing zellige tiles.
Understanding Zellige: What Makes It Different
Traditional zellige is made from natural clay sourced from the Fez region of Morocco. Each tile is hand-shaped, glazed with traditional enamel recipes, and cut by artisans using a hammer rather than a machine. This process creates tiles that vary in thickness (typically 10–15mm), have slightly irregular edges, and feature unique glaze pooling and colour shifts.
These variations are not defects. They are the defining characteristic that gives zellige its unmistakable beauty. When installed properly, the cumulative effect of hundreds of slightly different tiles creates a surface that shimmers, shifts, and breathes in a way that no factory tile can achieve.
Choosing the Right Zellige for Your Toronto Project
#Glazed Zellige
The most popular choice for Toronto bathrooms and kitchens, glazed zellige features a glass-like surface that reflects and refracts light. Colours range from crisp whites and soft blues to deep greens, terracotta, and charcoal. The glaze is inherently translucent, meaning the clay body beneath influences the final appearance, which is why colour can vary significantly between individual tiles.
#Unglazed (Natural) Zellige
Natural zellige, also called bejmat, showcases the raw terracotta clay body without glaze. These tiles offer warm, earthy tones and a matte, tactile surface. They are popular for floor applications and rustic-style bathrooms but require more aggressive sealing due to their porous nature.
#Where to Use Zellige in Toronto Homes
- **Kitchen backsplashes:** The most popular application. Zellige's reflective quality catches light beautifully behind the cooktop and sink areas.
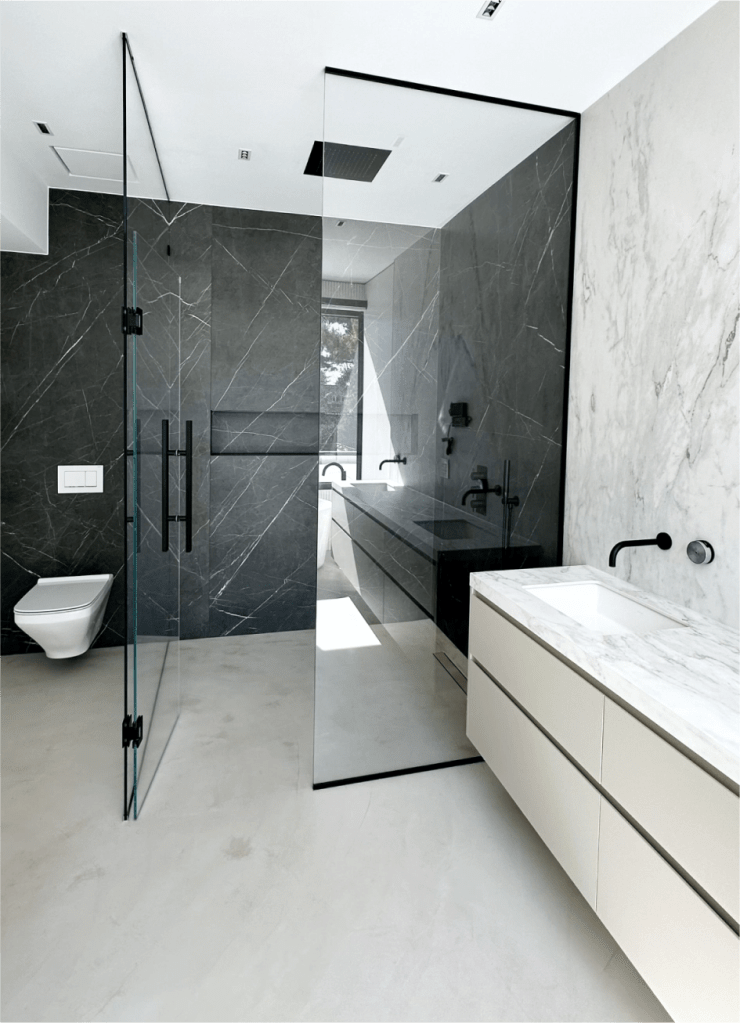
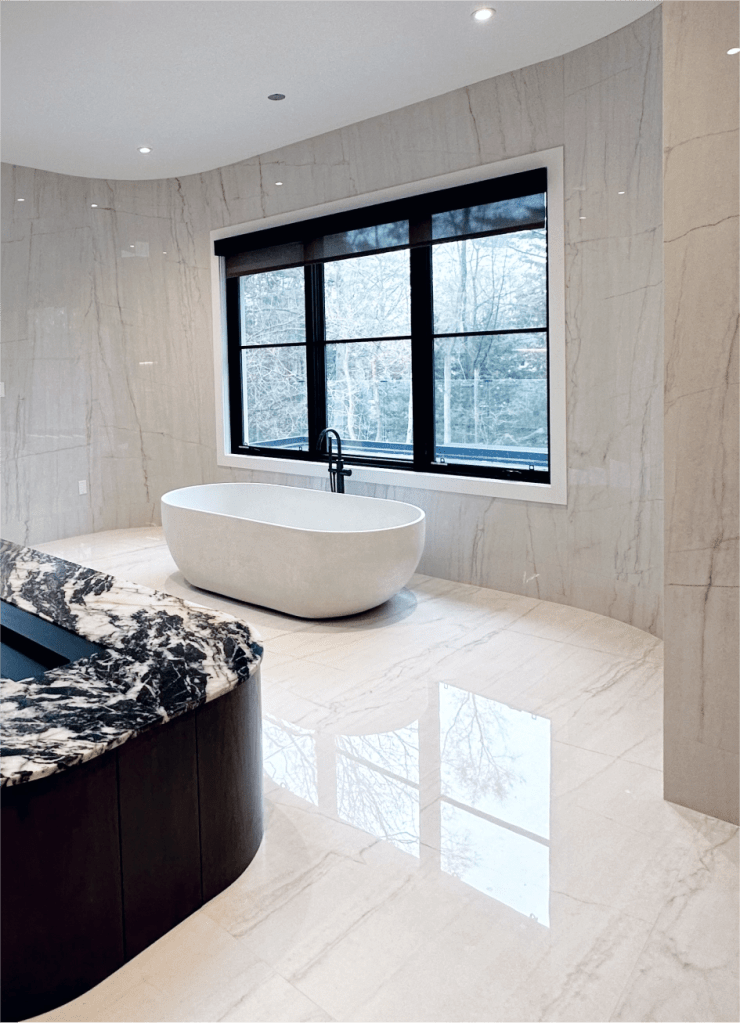
- **Bathroom walls:** Shower walls, tub surrounds, and vanity backsplashes all benefit from zellige's texture and warmth.
- **Fireplace surrounds:** The handcrafted character pairs beautifully with natural stone mantels.
- **Powder rooms:** A full wall of zellige creates maximum impact in a small space.
- **Feature walls:** Dining rooms, entryways, and living rooms can use zellige for a statement installation.
**Important limitation:** Zellige is generally not recommended for floor installations in high-traffic areas due to its softer glaze, or for submerged applications like pool waterlines.
Pre-Installation Requirements
#Material Ordering
Order a minimum of 15–20% overage beyond your measured square footage. This accounts for cuts, inherent variations (approximately 15–20% of tiles may have hairline cracks, chips, or pits that are considered normal), and the irregular sizing that requires more trimming during installation. Running short mid-project is extremely problematic because zellige batches vary in colour from production run to production run.
#Substrate Preparation
The wall or floor surface must be flat, clean, structurally sound, and free of moisture. For Toronto bathroom installations:
1. **Cement backer board** is the preferred substrate over drywall for all wet area applications. 2. **Waterproofing membrane** (such as Schluter KERDI, RedGard, or Hydroban) must be applied and fully cured before any zellige installation in showers, tub surrounds, and behind sinks. Zellige tiles do not provide waterproofing on their own. 3. **Check flatness** using a straightedge. Variations greater than 3mm over 3 metres should be corrected with a levelling compound.
#Shade Blending
Before any mortar is mixed, open every box of zellige and mix tiles together on a flat surface. This critical step ensures that shade variations from different production runs are evenly distributed across the finished surface rather than creating visible colour blocks or bands.
Installation Process
#Mortar Selection
Use only **white polymer-modified thin-set mortar**. White is mandatory because zellige glazes are translucent — grey mortar will show through and alter the tile's colour. Recommended products include Schluter SET, Schluter ALL-SET, or any quality white polymer-modified thin-set.
Never use mastic (premixed adhesive) for zellige installation. The porous clay body requires the strong mechanical bond that thin-set mortar provides.
#Soaking Glazed Tiles
Glazed zellige tiles should be briefly soaked in room temperature water for 1–2 minutes before installation. This removes dust accumulated during shipping and allows the porous clay to release trapped air, which improves mortar adhesion. **Do not soak unglazed natural zellige**, as water absorption can cause efflorescence (white salt deposits on the surface).
#Mortar Application
Apply thin-set mortar to the substrate using a 1/4-inch by 3/16-inch V-notched trowel. Then back-butter each individual tile with a thin layer of mortar, spreading it in the same direction as the wall application. This dual-application technique ensures complete coverage and eliminates air pockets, which is especially important given zellige's thickness variations.
#Setting Tiles
Press each tile firmly into the mortar bed. Because zellige tiles vary in thickness, you will need to adjust the mortar bed depth for individual tiles to achieve a relatively flat surface. Some lippage (height variation between adjacent tiles) is normal and expected with zellige. Use a small level to check alignment, but accept that minor irregularities are part of the character.
#Spacing and Joints
Traditional zellige installation uses very tight spacing (1–2mm) or butted joints with no spacer. For a more uniform modern look, 1/16-inch to 1/8-inch spacers can be used, though hand-cut edges may still require visual adjustment. The irregular edges mean that grout lines will naturally vary in width, which is an inherent and desirable quality of zellige installations.
#Cutting
Use a water-cooled tile saw with a diamond blade for all cuts. Zellige is softer than porcelain and cuts relatively easily, but the handmade nature means edges can chip. Position cut edges in less visible locations (corners, behind fixtures, along the ceiling line) when possible.
Grouting Zellige Tiles
#Grout Selection
Choose a **sanded grout** in a colour that complements the tile. Neutral tones — warm grey, beige, sand, or off-white — are recommended to maintain the handcrafted character without overpowering the glaze colour. Avoid stark white grout with coloured zellige, as the high contrast draws attention to the irregular spacing rather than the tile's beauty.
#Application Technique
Apply grout gently using a **rubber spatula or soft rubber float**. Zellige's glossy glaze surface is softer than porcelain and can scratch if grout is applied with excessive force using a standard hard-rubber float. Work in small sections and clean excess grout immediately with a damp sponge. Dried grout on zellige is extremely difficult to remove without damaging the glaze.
#Curing
Allow the grout to cure for the manufacturer's recommended time (typically 24–48 hours) before exposing the installation to water or heavy use.
Sealing
#Glazed Zellige in Wet Areas
For shower walls and tub surrounds, apply a penetrating sealer to both the tiles and grout joints after grouting is fully cured. This additional protection layer helps prevent moisture infiltration through the grout and any micro-cracks in the glaze.
#Unglazed Natural Zellige
Unglazed zellige requires sealing **before grouting** with a penetrating stone sealer. After grouting, apply a matte wax sealer and reapply every 1–2 years depending on use.
Maintenance and Long-Term Care
- Clean glazed zellige with a soft cloth and mild, pH-neutral soap. Avoid acidic cleaners (vinegar, citrus-based products) and abrasive scrubbers.
- Reseal grout in wet areas annually or whenever you notice water beginning to darken the grout rather than beading on the surface.
- Minor chips and crazing (fine cracks in the glaze) are part of zellige's natural ageing process and add to its character over time.
Cost of Zellige Tile Installation in Toronto
| Component | Cost Range | |---|---| | Zellige tile (material) | $20 – $45 per sq ft | | Substrate preparation | $3 – $6 per sq ft | | Professional installation | $15 – $25 per sq ft | | Grouting and sealing | $3 – $5 per sq ft | | **Total installed** | **$41 – $81 per sq ft** |
For a typical kitchen backsplash of 25–30 square feet, expect a total investment of $1,025–$2,430.
Contact Prime Tiling for expert zellige tile installation across Toronto, Mississauga, Vaughan, Markham, Oakville, and the Greater Toronto Area. Our experienced installers understand the unique requirements of handcrafted tiles and deliver installations that showcase zellige's extraordinary beauty.