One of the most frequently asked questions during Toronto bathroom and kitchen renovation consultations is whether new tile can be installed directly over existing tile. The short answer is: sometimes yes, but only when specific conditions are met. The long answer involves structural assessment, surface preparation, height transition management, and honest evaluation of whether overlay installation is truly the best approach for your specific situation.
This guide provides the professional criteria Toronto tile contractors use to determine when tiling over existing tile is appropriate and when removal is the smarter investment.
When Tiling Over Existing Tile Is Possible
Overlay installation is feasible when all of the following conditions are met:
#1. The Existing Tile Is Firmly Bonded
Every existing tile must be firmly adhered to the substrate with no hollow spots, loose tiles, or delamination. Test by tapping each tile with a rubber mallet or the handle of a screwdriver. A solid, consistent sound indicates good adhesion. A hollow, drumming sound indicates the tile has separated from the substrate and must be removed.
**The rule:** If more than 5% of existing tiles sound hollow or are loose, full removal is recommended. Overlaying onto poorly bonded tiles creates a weak foundation that will eventually fail.
#2. The Substrate Is Structurally Sound
The subfloor or wall structure beneath the existing tile must be capable of supporting the additional weight of a second tile layer. This is particularly critical for:
- **Wood-frame floors:** The joist system must be able to handle the additional load (typically 5–15 pounds per square foot depending on tile type and mortar thickness)
- **Wall-mounted tile:** The wall structure must support double the tile weight. Drywall alone may not be adequate for heavy overlay installations.
- **Older Toronto homes:** Homes built before 1970 may have subfloor systems that are already near their load capacity with the original tile.
#3. Height Transitions Are Manageable
Adding a second layer of tile raises the floor height by approximately 10–15mm (3/8 to 5/8 inch), accounting for the new mortar bed and tile thickness. This height increase affects:
- **Door clearance:** Doors may need trimming at the bottom to swing over the raised floor
- **Toilet flange height:** The toilet flange must be raised or an extension installed to maintain proper seal height
- **Transition to adjacent rooms:** Height differences at doorways require transition strips or ramped tile edges
- **Shower curbs and thresholds:** These may become disproportionately short relative to the raised floor
#4. The Surface Is Flat and Level
The existing tile surface must be flat enough for the new tile to bond properly. Significant lippage (height differences between adjacent tiles), uneven grout joints, or warped tiles create an irregular surface that compromises adhesion of the overlay layer.
**Maximum acceptable irregularity:** 3mm over 3 metres for large-format tile overlay, 6mm over 3 metres for small-format tile.
#5. The Installation Is Not in a Wet Area Requiring Waterproofing
Tiling over existing tile in showers and tub surrounds is generally **not recommended** because:
- You cannot verify the condition of the waterproofing membrane beneath the existing tile
- Adding a second tile layer does not create waterproofing — water can still penetrate grout joints and reach the existing tile surface
- If the original waterproofing has failed, the overlay conceals the problem while water damage continues unseen
**Exception:** If you are confident that a quality waterproofing membrane exists beneath the existing tile and it is intact, you can apply a new liquid membrane over the existing tile surface before installing the overlay.
Surface Preparation for Tile Overlay
#Step 1: Clean the Existing Surface
Remove all soap scum, grease, sealers, wax, and contaminants from the existing tile surface. Use a degreasing cleaner and scrub thoroughly. Any residue between the existing tile and the bonding material will compromise adhesion.
#Step 2: Roughen the Surface
Glazed ceramic and porcelain tiles have smooth, non-porous surfaces that resist bonding. To create mechanical adhesion:
- **Sand with 60–80 grit sandpaper** or a random orbital sander to scuff the glaze
- **Use an angle grinder with a diamond cup wheel** for larger areas
- The goal is to create a uniformly roughened surface that the bonding material can grip
#Step 3: Repair Damaged Areas
Remove and fill any cracked, chipped, or loose tiles with mortar. Fill deep grout joints with a levelling compound to create a flatter surface for the overlay.
#Step 4: Apply Bonding Agent (Optional but Recommended)
A bonding primer or adhesion promoter applied to the existing tile surface significantly improves the mechanical bond between the old tile and the new mortar bed. Products like Laticrete 254 Platinum or Mapei Kerabond can be applied as a bonding layer.
#Step 5: Use the Right Mortar
Standard thin-set mortar may not bond reliably to existing tile surfaces. Use:
- **Polymer-modified thin-set mortar** with enhanced bond strength
- **Specifically labelled "tile-over-tile" mortar** designed for overlay applications
- Apply with proper trowel notching and full back-buttering of each new tile
When Removal Is the Better Option
In many situations, removing the existing tile is the smarter long-term investment despite the additional cost and disruption:
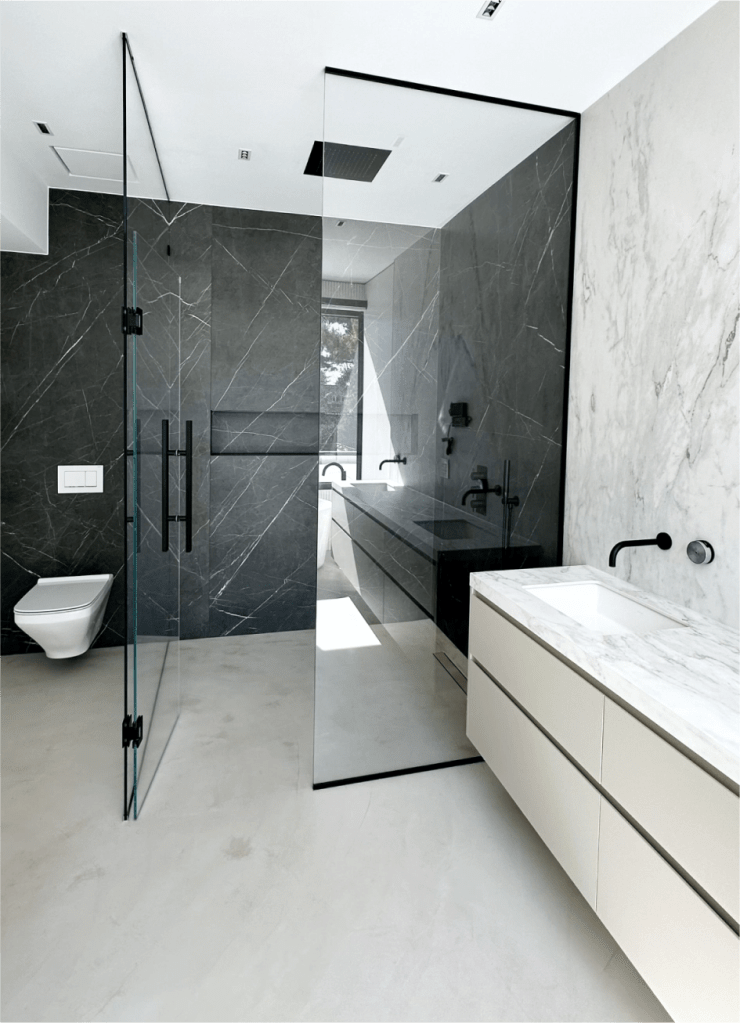
#Shower and Tub Enclosures
Always remove existing tile in showers and tub surrounds. This allows inspection and replacement of waterproofing, assessment of the substrate condition (checking for water damage, mould, and rot behind the tile), and a fresh, proper installation from the substrate up.
#Floors with Structural Concerns
If the subfloor shows any signs of flex, bounce, or weakness, adding the weight of a second tile layer increases the risk of cracking and failure. Remove the existing tile and address subfloor issues before installing new tile.
#When Height Is a Problem
If the raised floor height creates unacceptable transitions, interferes with doors, or creates problems with plumbing fixtures, removal is the cleaner solution.
#When the Existing Tile Has Asbestos
Homes built in Toronto before the mid-1980s may have floor tiles, adhesives, or backing materials containing asbestos. Disturbing asbestos-containing materials is regulated by Ontario's Occupational Health and Safety Act. If asbestos is suspected, have the material tested before any work begins. Licensed asbestos abatement may be required before tile removal.
#When You Want It Done Right
Professional tile contractors generally recommend full removal for most renovation projects. The incremental cost of removal (typically $3–$8 per square foot) provides:
- A clean substrate for optimal adhesion
- Opportunity to correct subfloor issues
- Proper waterproofing installation
- No height transition problems
- Peace of mind that the installation is built on a solid foundation
Cost Comparison: Overlay vs Removal in Toronto 2026
| Approach | Cost (per sq ft) | Pros | Cons | |---|---|---|---| | Tile overlay | $15 – $28 installed | Faster, less debris, lower labour cost | Height issues, bonding risk, no waterproofing inspection | | Full removal + new tile | $22 – $40 installed | Clean substrate, proper waterproofing, no height issues | More time, more cost, more debris |
The cost difference is typically $5–$12 per square foot. For a 100 square foot bathroom, that translates to $500–$1,200 additional cost for full removal — a modest investment for a renovation intended to last 20–30 years.
Final Recommendation
Tiling over existing tile can be a practical solution for specific situations: rental property updates, floors in good condition where height changes are acceptable, and backsplashes where moisture is not a concern. For primary bathrooms, showers, and any renovation where longevity and quality are priorities, full removal and fresh installation is the professional recommendation.
Contact Prime Tiling for honest assessment and expert tile installation across Toronto, Mississauga, Vaughan, Markham, Brampton, Oakville, Burlington, and the entire GTA. We evaluate every project individually and recommend the approach that delivers the best long-term results for your home and budget.