Basements present the most challenging environment for tile installation in any Toronto home. The combination of below-grade moisture, concrete subfloor irregularities, temperature fluctuations, and potential flooding risk makes proper preparation absolutely critical. A basement tile installation done correctly can last decades and transform unusable space into a beautiful living area. Done incorrectly, it leads to mould growth, tile delamination, and costly remediation.
This guide covers the essential steps for successful basement tile installation in Toronto and the GTA.
Understanding Basement Moisture in Toronto
#Where Moisture Comes From
Toronto basements face moisture from multiple sources:
- **Hydrostatic pressure:** Groundwater pressing against the foundation walls and floor slab, particularly during spring snowmelt and heavy rainfall periods
- **Capillary action:** Moisture wicking upward through the concrete slab from the soil below
- **Condensation:** Warm, humid summer air condensing on cool basement surfaces, especially during July and August when outdoor humidity in the GTA regularly exceeds 70%
- **Plumbing leaks:** Slow, undetected leaks from supply lines, drain connections, or water heater fittings
- **Foundation cracks:** Water intrusion through cracks in the foundation walls or floor slab
#Moisture Testing Before Tile Installation
Never install tile on a basement floor without testing for moisture. Two industry-standard methods:
**Calcium Chloride Test (ASTM F1869):** Place a sealed container of calcium chloride on the bare concrete floor for 60–72 hours. Weigh it before and after to measure moisture vapour emission rate (MVER). For tile installation, the MVER should be below 3 pounds per 1,000 square feet per 24 hours.
**Relative Humidity Test (ASTM F2170):** Drill holes in the concrete slab and insert in-situ humidity probes at 40% of the slab depth. Read after 72 hours. For tile installation, relative humidity should be below 75%.
If moisture levels exceed these thresholds, a moisture mitigation system must be installed before tile work begins.
Subfloor Preparation for Basement Tile
#Concrete Surface Assessment
Most Toronto basement floors are poured concrete, often with: - **Surface irregularities** from the original pour - **Curing compound residue** that prevents mortar adhesion - **Paint or sealers** from previous finishing attempts - **Cracks** from settlement or shrinkage
All of these must be addressed before tile installation.
#Surface Preparation Steps
1. **Remove existing flooring and adhesive residue.** Scrape, grind, or chemically strip any existing carpet adhesive, vinyl glue, or paint from the concrete surface.
2. **Repair cracks.** Fill cracks with a flexible polyurethane crack filler or epoxy injection system. For active cracks (those still moving), use a crack isolation membrane over the repair.
3. **Grind or shot-blast the surface.** Mechanical preparation opens the concrete pores and creates a profile for mortar adhesion. The surface should feel like medium-grit sandpaper when properly prepared.
4. **Level the floor.** Apply self-levelling compound to correct any low spots or irregularities. The floor must be flat within 3mm over 3 metres for large-format tiles, or 6mm over 3 metres for smaller tiles.
5. **Clean thoroughly.** Vacuum all dust and debris. The concrete must be clean and free of any contaminants before waterproofing or tile installation.
Waterproofing and Moisture Management
#Option 1: Uncoupling Membrane System
**Schluter DITRA** is the most widely used uncoupling membrane for basement tile installations in Toronto. DITRA provides:
- **Uncoupling:** Isolates the tile from the concrete substrate, preventing cracks from telegraphing through
- **Waterproofing:** Prevents moisture from reaching the tile adhesion layer
- **Vapour management:** The fleece-laminated underside allows moisture vapour to dissipate laterally
DITRA is applied directly to the concrete with thin-set mortar. Tiles are then bonded to the DITRA surface. This system is considered the gold standard for basement tile in Ontario.
#Option 2: Liquid-Applied Moisture Barrier
Products like Laticrete Hydro Ban and Custom Building Products RedGard are liquid-applied membranes that create a continuous waterproof barrier over the concrete. Applied with a roller or trowel in two coats, these membranes cure to form a flexible, waterproof sheet that can bridge hairline cracks.
#Option 3: Epoxy Moisture Vapour Barrier
For basements with high moisture readings, a two-part epoxy moisture barrier (such as Laticrete Moisture Vapor Barrier) seals the concrete surface and blocks vapour transmission. This is the most aggressive moisture mitigation approach and is recommended when MVER exceeds 8 pounds or relative humidity exceeds 85%.
Best Tiles for Toronto Basements
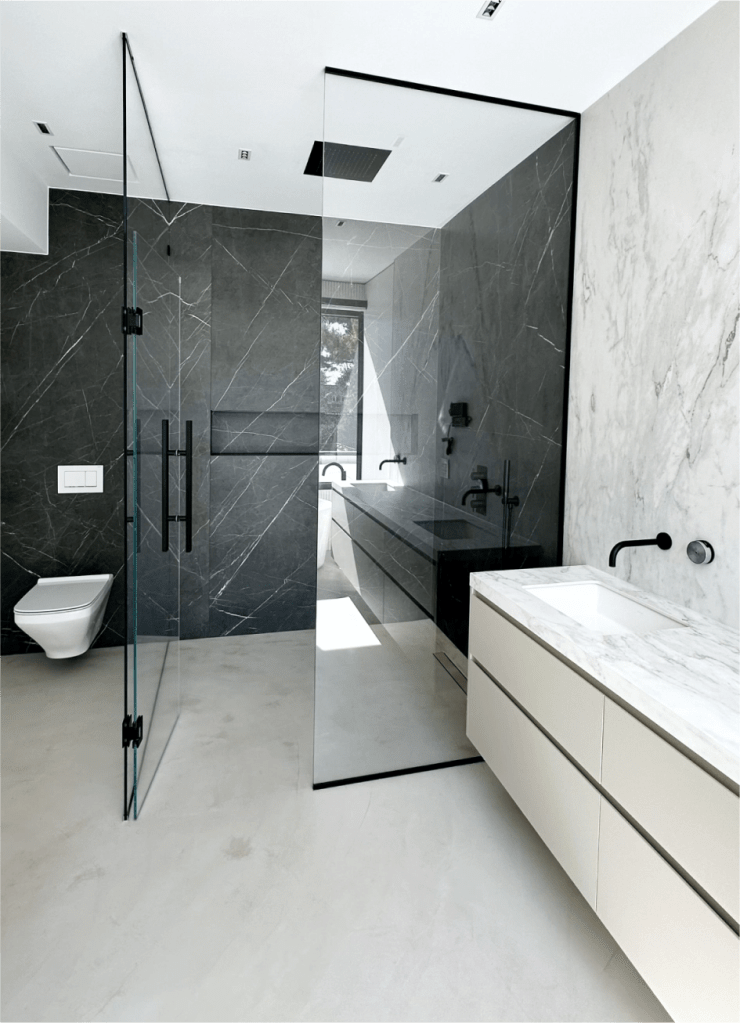
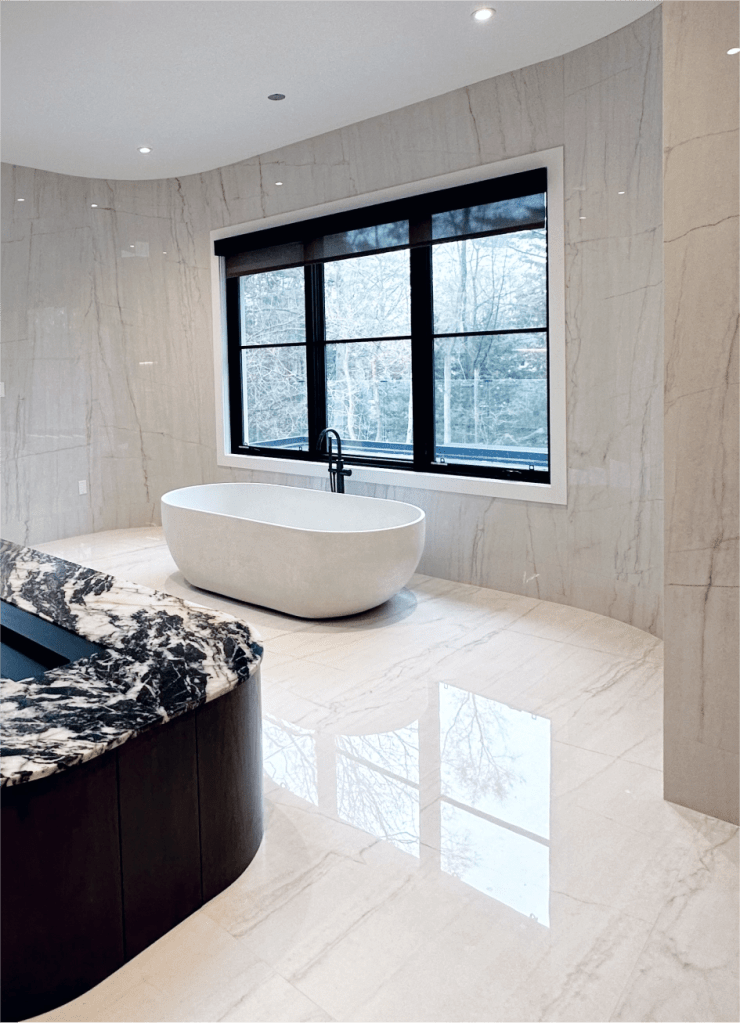
#Porcelain Tile
The top choice for basement floors. Porcelain's near-zero water absorption (below 0.5%) means it will not be damaged by any moisture that migrates through the system. Large-format porcelain in wood-look, concrete-look, or stone-look finishes creates a warm, inviting basement living space.
#Ceramic Tile
Quality ceramic rated PEI Class 3 or higher works well for basement applications with proper waterproofing in place. Ceramic offers more decorative options at a lower price point than porcelain.
#Luxury Porcelain Plank (Wood-Look)
Wood-look porcelain plank tiles are the most popular basement flooring choice in Toronto for 2026. Available in widths up to 12 inches and lengths up to 48 inches, these tiles provide the warmth and character of hardwood with the moisture resistance essential for below-grade applications.
#Materials to Avoid in Basements
- **Natural stone with high porosity** (some limestones, sandstone): Can absorb moisture and stain
- **Unglazed terracotta:** Too porous for below-grade use without aggressive sealing
- **Any tile rated for interior wall use only:** Not durable enough for floor traffic
Radiant Floor Heating in Basements
Basements are cold. Concrete slabs in direct contact with the earth can drop to 12–15°C even in insulated basements. Electric radiant floor heating is the single most impactful upgrade for basement comfort, and tile is the ideal floor covering for radiant systems.
#How It Works
Electric heating cables or mats are installed between the waterproofing membrane and the tile. The system warms the tile surface to a comfortable 25–28°C, radiating heat upward into the living space. Porcelain and ceramic tile's thermal conductivity distributes this heat evenly and efficiently.
#Cost for Basement Radiant Heating
- **Electric heating mats:** $8–$15 per square foot for materials
- **Installation (integrated with tile):** $3–$6 per square foot additional
- **Operating cost:** Approximately $0.25–$0.50 per square foot per month during heating season, depending on Ontario Hydro rates and insulation levels
Basement Tile Installation Cost in Toronto 2026
| Component | Cost Range (per sq ft) | |---|---| | Porcelain tile (material) | $6 – $18 | | Concrete preparation and levelling | $3 – $6 | | Waterproofing membrane (DITRA or equivalent) | $4 – $7 | | Radiant heating (optional) | $8 – $15 | | Professional installation labour | $8 – $14 | | Grout and sealant | $1 – $3 | | **Total installed (without radiant heat)** | **$22 – $48** | | **Total installed (with radiant heat)** | **$30 – $63** |
For a typical Toronto basement of 500 square feet, expect a total investment of $11,000–$24,000 without radiant heating, or $15,000–$31,500 with radiant heating included.
Common Basement Tile Installation Mistakes
1. **Skipping moisture testing.** The most expensive mistake. Installing tile over a wet slab leads to mould growth, adhesion failure, and complete floor replacement within 2–3 years.
2. **Inadequate subfloor preparation.** Failing to level the concrete properly results in lippage (uneven tile edges), hollow spots, and cracked tiles.
3. **Using mastic instead of thin-set.** Mastic (premixed adhesive) is not suitable for basement applications. It does not cure properly in high-moisture environments and loses adhesion over time. Always use polymer-modified thin-set mortar.
4. **Ignoring expansion joints.** Basement concrete slabs move. Expansion joints at all wall perimeters and within the tile field at regular intervals prevent cracking.
5. **Forgetting the sump pump backup.** Even perfectly waterproofed tile cannot survive a basement flood. Ensure your sump pump has a battery backup before investing in premium basement finishing.
Contact Prime Tiling for expert basement tile installation across Toronto, Mississauga, Vaughan, Markham, Brampton, Oakville, and the entire GTA. We test, prepare, waterproof, and tile basements to the highest standards, creating living spaces that last.